LED strip lights have undoubtedly become the most popular and commonly used aesthetic lighting products. Much of this success is due to the reliable and affordable nature of these lights. Moreover, these lights are incredibly versatile in terms of their potential uses.
One of the most common ways to install LED lights is by using adhesives to stick these lights to the desired surface. In fact, most of the LED light strips available on the market already include the adhesive either in the packaging or already applied to the strip.
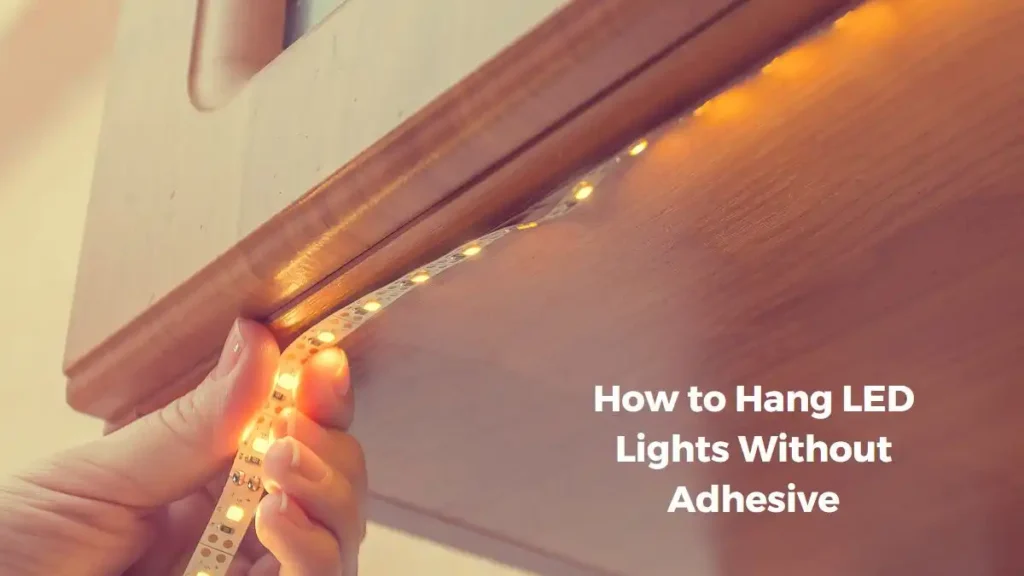
However, using adhesives can damage the paint and finish of the surface. In addition, attaching the LED strips using adhesives makes it difficult to relocate the strip in the future.
As a result, learning how to hang LED lights without adhesive might be the right option for you.
Required Tools and Materials
1. LED lights
2. Screws
3. Anchors
4. Screwdriver
5. Drill (preferable)
6. Hammer
Step-By-Step Guide To Hanging Led Lights Without Adhesive
1. Identify The Desired Location For The Lights
First, figure out exactly where you want your lights to be. If you want ambient lighting you may want to place the strips behind another object like a headboard or a monitor.
2. Measure And Mark The Location For The Screw
Ideally, one screw should be good enough to hold up 2 to 3ft of LED strip lights. So measure how long your LED light strips are and mark locations for the screws accordingly. Make sure the screw locations are equal distance from each other.
3. Drill Holes in the Marked Locations
Now using a power drill, make holes on the marked locations of your surface. If you don’t have a power drill, you can use a hammer and nail instead. The hole doesn’t need to be any deeper than an inch.

4. Install Anchors If Necessary
The next step of how to hang LED lights without adhesive is to use anchors. Anchors are used for screws to better dig into the wall. Push the anchors into the holes and use a hammer if necessary
If you’re using a hammer and nails, disregard this option.
5. Apply the Screws
Using a screwdriver or a drill, slowly push and rotate the screws until they’re firmly in the wall.
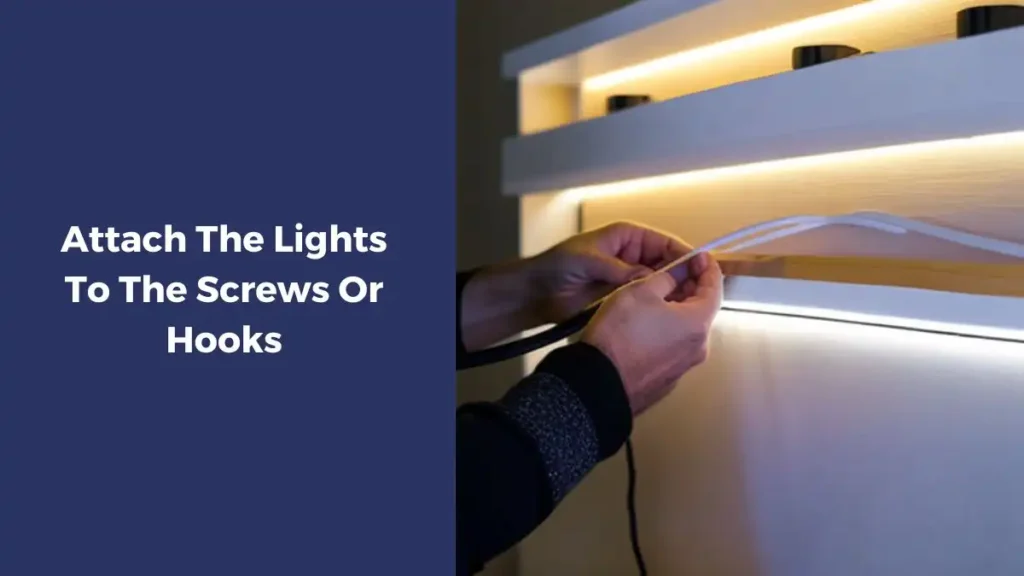
6. Attach The Lights To The Screws Or Hooks
For this step, you can either wedge the LED light strips above the screws, or you can loop the strip around the screw.
If you’re using nails, use pliers or the wedge end of the hammer to bend the nails in a way where it acts as a hook. Then, simply hang the strips from the nail.
7. Test The Lights And Make Any Necessary Adjustments
Finally, turn on the lights and inspect if everything is working properly.
Alternative Methods for Hanging LED Lights Without Adhesive
1. Using Wire Or String
Required Materials
- Wire or string
- LED strip lights
- Hammer (optional)
- Nails (optional)
Step by Step process
1. Identify Beginning and End Points
Another way of learning how to hang LED lights without adhesive is to use strings or wires. Determine where you want to place the beginning and end of your LED strip lights.
2. Tie the String to The Beginning and End Point
Now carefully tie a string to the beginning point. Pull the string tightly to the end point and tie up there.
If there are no objects to tie the string to, consider hammering in a nail and tying the string to the nail
3. Attach LED Strip to String
Now carefully wrap the LED strip around the string. Do not wrap the strip tightly, or you may damage the components.
4. Test and Adjust
Plug the strip in and test to see if it is working properly. Alternatively, you can wrap the string around the LED strip if you don’t want to twist your strips.
2. Using Magnets
Required Materials
- A metal surface (optional)
- Screws (optional)
- Small magnets
- LED strip lights
Step by Step process
1. Find the Correct Surface
The most important part of this solution of how to hang LED lights without adhesive is determining the right kind of surface. If you’re placing the LED strips on a metallic surface, you can place the magnets wherever.
Alternatively, you can drill metallic screws. These screws will be attracted by the magnets which can hold up the LED strip.
2. Place the LED Strip Lights in Position
Carefully place the LED light strips on top of the metallic surface or right on the screws. Make sure there aren’t any tight bends in the strip.
3. Apply the Magnets
Now place the magnets in such a way that the strip is running between the magnet and the metal surface/screws. The magnet and the metal pulling towards each other will keep the LED strip in place.
4. Test and Adjust
Plug the strip in and see if it’s working properly.
3. Using Hooks or Clips
Required Materials
- Hooks or clips
- Screws
- Screwdriver
- LED light strips
Step by Step Process
1. Identify Desired Location of Led Strip Lights
Just like the other methods, before doing anything else you need to properly mark exactly where you’ll be placing the LED lights.
2. Determine Position and Number of Hooks
Good news is, now you can just buy hooks or clips that are designed for LED strip lights. These hooks come with screws and a groove or extensions through which LED strips can pass.
The instruction manual of these hooks will contain info regarding how many hooks you’ll need for the entire length of your LED strip lights.
3. Screw in The Hooks
Using a screwdriver or a drill, screw in the hooks on the previously marked locations. Make sure to not screw the hooks all the way in so that you can still insert the LED strip lights.
4. Place LED Strip Lights
Now carefully feed the LED strip lights through the grooves in the hooks. Make sure the hooks are not pinching or twisting any part of the strip.
5. Test and Adjust
Plug the strip in and see if it is working properly.
Tips and Best Practices
As with all of the above mentioned solutions, it is extremely important that you place the strip first in order to mark its desired locations. Repeat this step a few times until you’re absolutely sure.
If you don’t have experience using dangerous tools like hammer and power drill, ask someone with experience to help you out. Wear protective gear.
Once you have installed the LED light strip, inspect the strip every once in a while to find potential issues including overheating, short circuit, etc. Wipe the strip down with a dry cloth to clean off the dust.
Final Words
That’s all for our guide on how to hang LED lights without adhesive. If you’re a fan of LED lights, already have them or are planning to buy them, we strongly recommend researching proper ways of installing these lights.
Properly installing and using LED strip lights can completely change the aesthetic or your room. So using proper installation techniques is very important.
As always, stay safe when working with electricity. Unplug all components and wear protective gear.
Related Articles…
How To Connect Daybetter LED Lights to App
How To Change LED Light Color without Remote
How to Make Led Lights Brighter
How to Make Pink on LED Lights
Why Are My LED Lights Different Colors

My strong expertise is illuminating spaces. With a keen eye for detail and a passion for transforming environments through lighting, my dream is to leave indelible mark on the world of light design. Below are few facts of my biography, highlighting career and hobbies. Click here to contact me.
