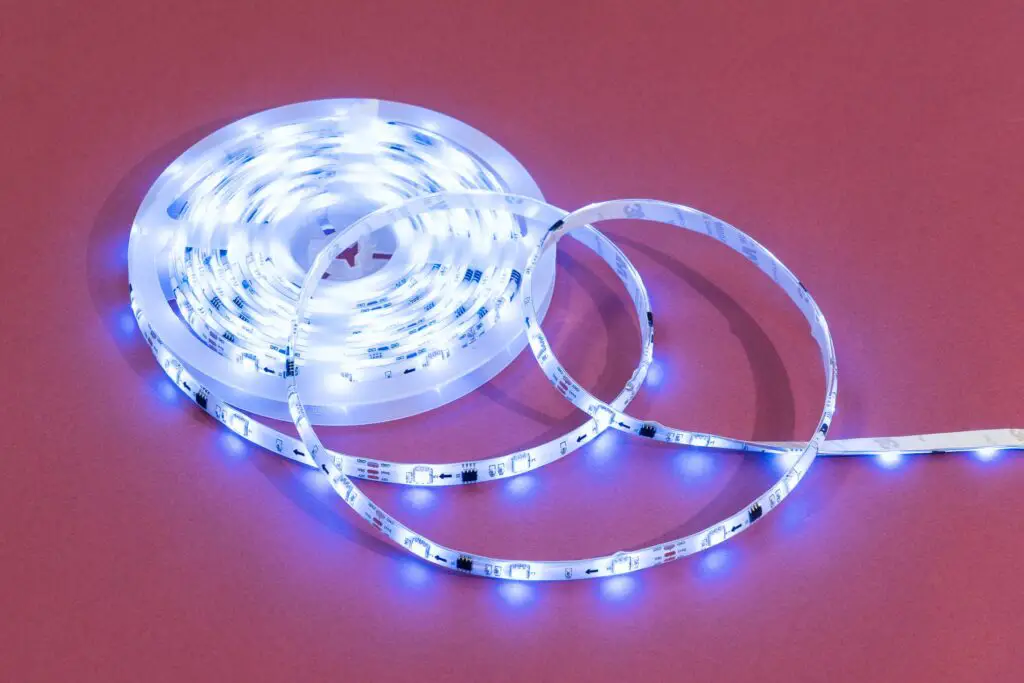
As far as interior decorative lighting options go, LED light strips have become one of the most popular products out there. The versatility of these LED strips make them one of the most sought after products in the lighting industry.
Starting from a vast range of colors to an extensive set of lighting patterns, one single set of LED light strips can generate whatever color and pattern you want.
One common problem with LED light strips is that manufacturers don’t usually manufacture long enough strips to cover the desired areas.
As a result, often times we have to make do with separate strips that don’t connect. The gaps between these strips can look aesthetically unpleasant.
There is an easy way to solve this problem, where you can use connectors to make continuous LED strip lights.

How to Make a Continuous LED Light Strip Run
The good news is that these days connecting LED strips are quite easy. You can find a vast range of connectors that are available and easy to buy online.
One of the most convenient and available connectors out there are wireless pin connectors. These connectors are the most suitable for continuous LED light strips, as these connectors don’t require any wires and are basically plug-and-play.
Do keep in mind though, some of the connectors have slightly different pin patterns. So make sure the connector is compatible with the LED light strip that you have.
JACKYLED – 4-Pin LED Connectors 10-Pack
This connector kit comes with detachable L sheets and straight couplers, perfect for both 90 degree corner connections and extensions along a straight line.
Things You Will Need
- Power Supply
- Connectors
- LED Strip
Follow These Steps To Make A Continuous LED Strip Light
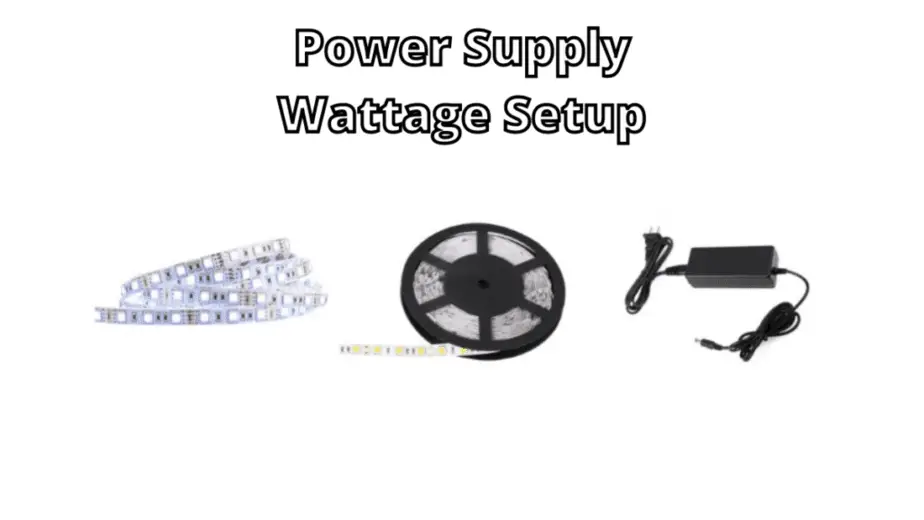
Step 1: Use The Right Power Supply Wattage
First and foremost, you need to make sure your power supply is capable enough to handle the additional load.
See when you add additional LED strips to your existing strip, the power supply needs to provide more power to the entire strip as it has to light up more lights.
If you’re using the power supply unit that came with the original LED strip, it may not be equipped to handle the additional wattage of the strips you want to connect.

Before you plug in your continuous LED strip light, find out the wattage per unit length (usually watt per foot) of the additional strips you’re going to connect. If the combined wattage of all the strips is less than the wattage capability of your power supply, you’re good to go.
However, if the power supply’s capability is less than the total wattage of your combined strips, you may want to buy a power supply that can handle the additional load.
Connecting an inadequate power supply may burn the power supply as well as damage your LED strip lights.

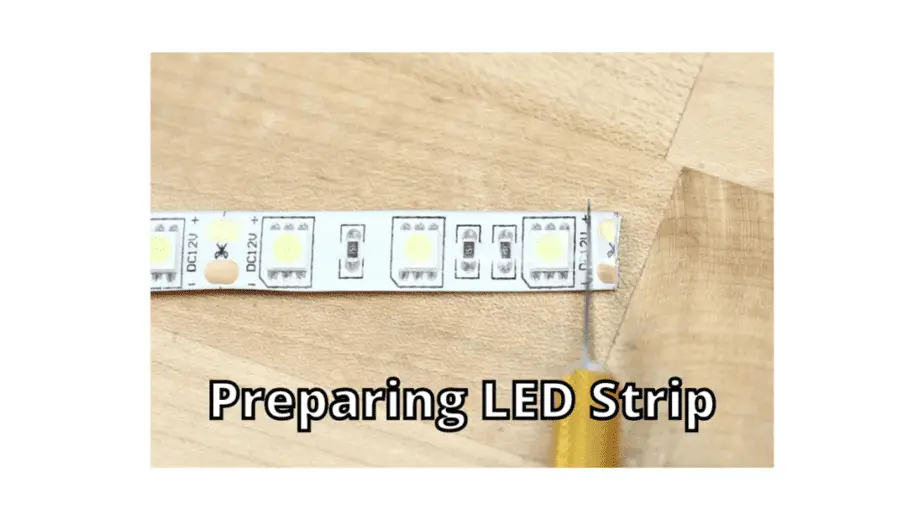
Step 2: Prepare The LED Strip
First, check that the connector pins are of the same pattern across all your LED strips.
Determine exactly what orientation you want to set up your continuous LED strip lights in. Depending on the orientation, the connectors may differ.
If you want to connect your strips in a straight line, the connector will be different compared to if you wanted to connect the strips in a 90-degree angle.

Step 3: Choose The Right Connector
If you already don’t know, the copper pads at the end of LED strips are not the same for every manufacturer. Some strips have 2 copper pads, others have 3, 4 or 5. Depending on the number of copper pads, the number of pins in the connectors will also differ.
In order to choose the right connector, carefully inspect your LED strips to determine the pattern of the copper pads. Then purchase the connectors that are compatible with the strips you have.
For additional safety, you should buy the connectors that have protective covers. These covers provide additional safety from natural elements, heat, etc.
Back To Back Wireless Pin Connector
Back to back connectors are connectors where the opposing pins are arranged directly opposite to one another. This is a good option to go for if you want to make your strip look continuous and maintain its shape.

Step 4: Attach LED Strip with Connectors
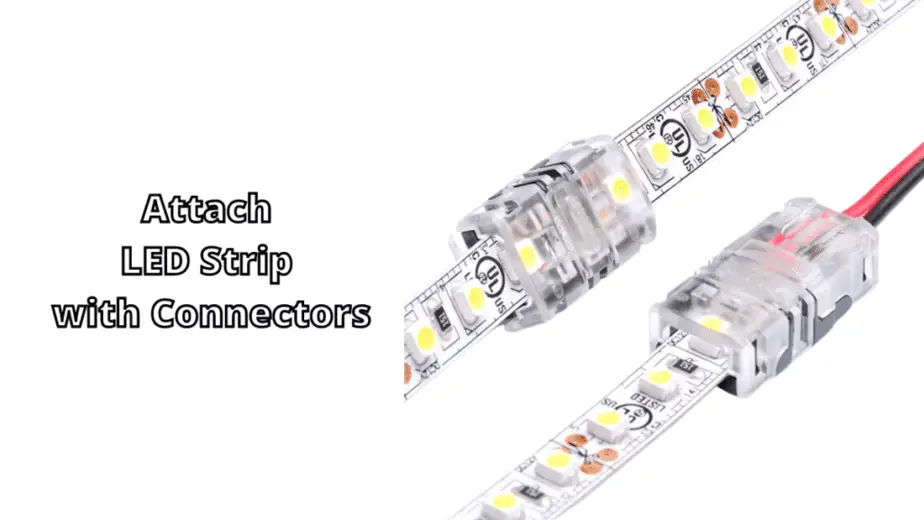
Now that you have your LED strips and connectors ready, carefully connect the connectors to the strips. The pins of the connectors can be delicate, so be gentle while connecting them.
Some connectors have plastic caps that click once the pins are connected, so listen carefully for the clicking sound.

Step 5: Attach LED Strip with Power Supply
Now that the entire strip is connected, connect the original strip to your power supply. As mentioned earlier, the power supply should have the capacity to handle the combined wattage of the strips.
Step 6: Troubleshooting LED Strip Light Polarity
If parts of your continuous LED strip light are not being illuminated after being connected to power, chances are the polarities of all the strips have not been matched properly.
Check the connection points of all the strips to make sure that the positive end of one strip is connected to the positive end of the next strip. If they’re not connected properly, electricity simply won’t flow through the circuit.
If your strips don’t indicate the polarity, just connect the strip both ways and see which way lights up the strip. Connecting the wrong polarity won’t damage the components, so its completely safe.

Step 7: Recheck All The Things
Before installing the strips to the desired surface, check everything one last time to make sure that you’ve followed all the steps correctly.
Step 8: Decorate
Now that your longer LED strip is working correctly, go ahead and install it in your desired location. The best part of this process is that if you don’t like how your combined strip looks, you can always just disconnect the strips and connect them in other orientations.
Can You Leave LED Strip Lights on All the Time
LED lights manufactured by well reputed brands comprise of premium quality components, meaning that these components are very long lasting.
These reputed LED strips can be left running for days at a time with minimal damage. As the components of an LED light strip generate very little heat, overheating is not an issue.
Therefore, if you want to leave your LED light strips on for extended periods of time, make sure to purchase a strip with good reviews.
Additionally, make sure you install your LED lights in a safe environment where the strips is not exposed to water or other damaging elements.

Back to Back Connectors for 90 Degree Corners
If your continuous LED strip light needs to go around a corner, the best option for you is to go for a 90 degree back-to-back wireless pin connector.
The opposing pins of these connectors are arranged in a 90 degree angle from each other, which enables you to connect the strips without bending them, thus reducing the stress on the delicate electrical components.
As said earlier, make sure you choose connectors with the correct pin pattern.
JACKYLED – 4-Pin LED Connectors 10-Pack
This connector kit comes with detachable L sheets and straight couplers, perfect for both 90 degree corner connections and extensions along a straight line.
Why LED Light Strips Shouldn’t Be Bend or Looped
Bending or looping LED strips causes some sections of the LED strips to get compressed or extended or even twisted. This can be very damaging to the components of the LED strips because they’re very delicate.
These strips are designed to be used in the orientation they came in, so bending or looping can damage the circuitry of these strips.
Additionally, bending or looping the strips can go against the manufacturer instructions. This means that the warranty the product came with may become void, thus preventing you from replacing damaged strips.
A good alternative to bending LED light strips is to just cut the LED strips on the cut line and use angled connectors to connect around bent surfaces.
If you need to attach the LED strip to your TV back, make sure to purchase a strip that has frequent cut lines in between components. This will allow you to make a lot of cuts within the strip.
Read also: Can You Sleep with Led Strip Lights On
Lights, Power, Action!
Now that you know exactly what to and what not to do when it comes to making continuous LED strip lights, go ahead and connect all the strips you have to make a uniform lighting pattern.
Connected light strips helps to maintain uniform lighting throughout the area, as gaps between strips would leave certain areas without sufficient lighting. Having your strips connected allows you to decorate your room symmetrically.
Besides this, having separate strips and connectors mean that you can constantly keep changing the orientation of your connected strip however you want, as people’s taste and preferences can change over time. Even if you don’t have enough separate strips, you can follow our guide to cutting LED strips into separate pieces to further diversify the patterns and designs of your LED strip.
Related Article: What Is the Best Double Sided Tape for LED Light Strips

My strong expertise is illuminating spaces. With a keen eye for detail and a passion for transforming environments through lighting, my dream is to leave indelible mark on the world of light design. Below are few facts of my biography, highlighting career and hobbies. Click here to contact me.

