LED strips are stretchy circuit boards with LEDs built into their design. Putting these strips wherever you need extra light, including in dark nooks, is a good idea. Those interested in purchasing these LED strips can easily do so for their illumination capabilities and brightness.
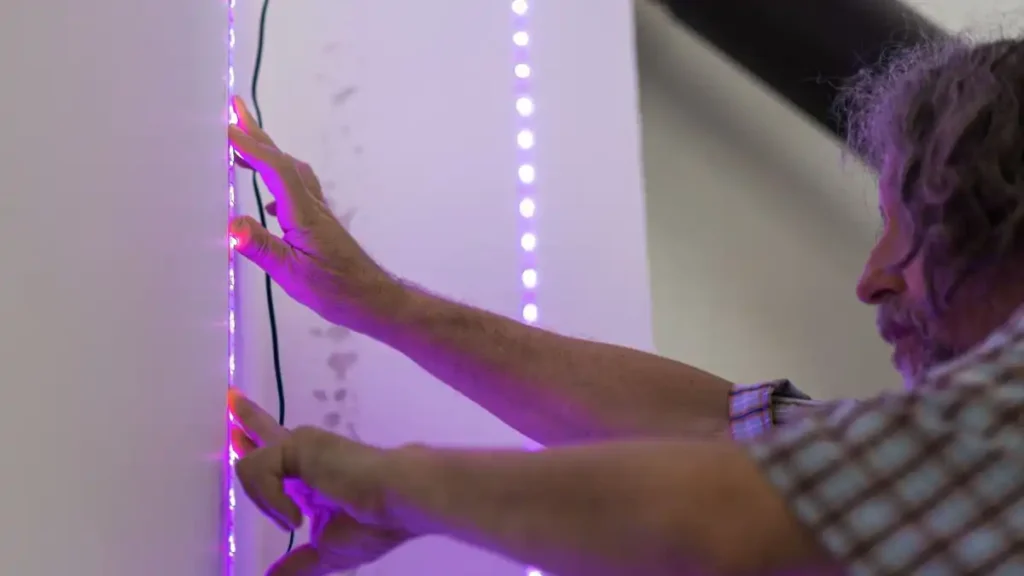
Table of Contents
This fixture’s light source may be turned up to ninety degrees. But after inspecting every part of the factory, you can easily reduce the LED strike. Many other single-color and color-changing alternatives fall into this class. The strips’ adhesive back features 3M brand tape. It’s also possible to use adhesives. However, that is only sometimes the case.
The most curious fact is, do LED light strips damage walls? So, let’s not waste time anymore and find the answer below.
Do LED Strips Damage Walls?
The question ranks high on the list of divisive topics. At least some of its target audience must have a good reaction to it. LED strip lights, however, have an efficient answer to this problem because of the adhesive they use.
Strips like these wouldn’t normally damage a wall’s integrity. After considering some elements related to the wall covering and the LED strips. However, this condition can still be possible to create. A strong adhesive on the strips’ surface may cause the paint to peel or damage when it attaches the strips to the wall.
Another major factor is the strength of the wall and the quality. Adhesive uses on the wood for adhering to LED strips significantly impact low-quality materials’ performance.
However, careful handling of heat sources is necessary if these strips are to be removed. Also, be careful to keep LED strips from falling off. The mild heat generated will rapidly and easily trigger removing the LED strips.
How LED Strip Stick To the Walls
Depending on the surface type and how long you plan to leave the lights up, several different techniques exist for mounting. To stick LED strips into walls in a variety of methods, including the following:
Adhesive backing
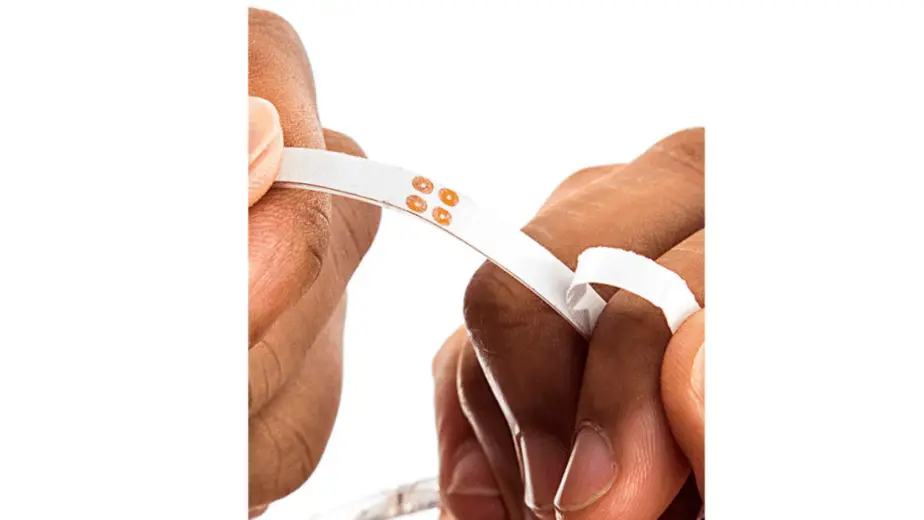
Easily mount your LED strip lights on the wall using the adhesive backing included with many models. Installing the LED strip is easy. Remove the backing and adhere it to the wall. If you want the adhesive to stick well, ensure the wall is dry and clean. The flat walls, glass, and metal surfaces are ideal for LED strips with adhesive backing.
Mounting clips
When purchasing an LED strip light, check to see if it comes with mounting clips. It is mounted in a bracket or clip attached to the wall by screws or nails. This method gives a more stable and long-lasting setup, although it may necessitate supplementary hardware and instruments.
Magnetic strips
Rather than using adhesive or brackets, these LED strip lights have magnetic strips that allow them to be mounted to metal surfaces. To attach the LED strip to the metal surface, you need only remove the backing and push the magnetic side down. Using this technique on metal walls is easy. But it might not work with other kinds of walls.
Double-sided tape
When mounting LED strip lights to the wall, double sided tape can replace the original adhesive. Put some double-sided tape on the backside of the LED strip and push it firmly on the wall. If you use tape, test them first to ensure they stick well and won’t damage your surface.
Following the LED strip lights’ specific manufacturer’s guidelines is essential to avoid any potential dangers and ensure a safe and secure installation.
What Adhesive Materials Are Used on LED Strip Lights?
LED strip lights are a common form of flexible lighting. It has many uses, including beneath cabinets, along walls, and across the length of furniture. Selecting an appropriate adhesive is an important step in attaching LED strip lights to guarantee a firm grip on the surface of choice. Adhesive materials come in various sorts and strengths, and each has its place in the world of LED strip lighting.
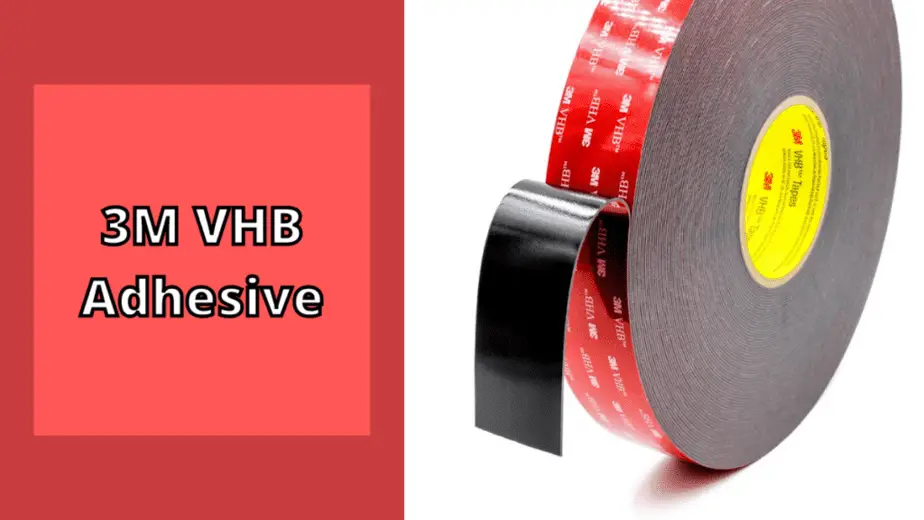
3M VHB Tape
To adhere LED strips together, many people choose to utilize 3M VHB tape. It is a high-performance adhesive. It has a stellar reputation for being tough as nails, lasting long, and not melting or rotting in the face of humidity or heat. VHB tape forms an irreversible bond between the LED strip and the surface. It prevents strips from detaching. As a bonus, its peel-and-stick construction makes it a breeze to apply.
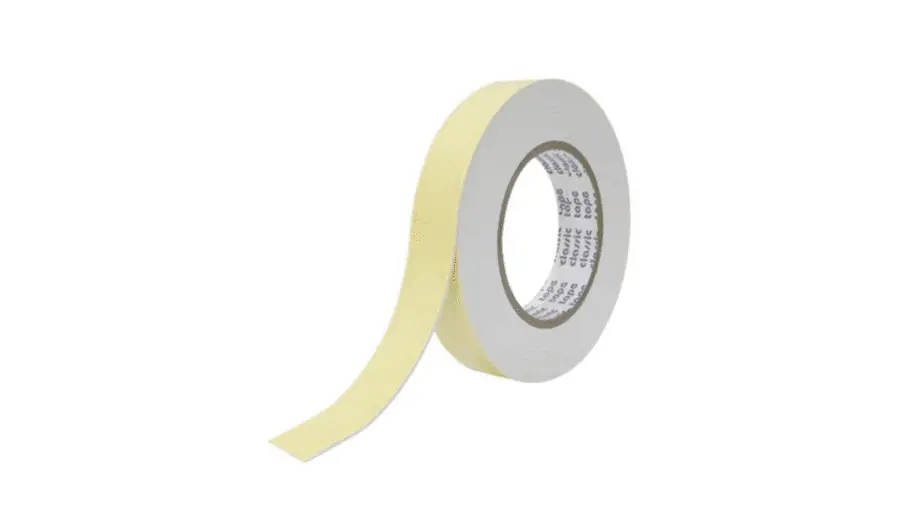
Foam Tape
Foam tape is another common choice for mounting LED strips. It’s great for use on rocky or uneven surfaces due to the foam substance it’s constructed of, which cushions and absorbs shock. Foam tape is versatile since it can be molded to fit irregular surfaces. Used to keep the LED strip in place when the surface isn’t perfectly smooth or when vibrations are to be anticipated.
Double-Sided Tape
Double-sided tape is a quick and cheap option when mounting LED strip lights. It’s a tape with an adhesive coating on both sides to secure the LED strip in place on any flat surface. With double-sided tape, you can measure the length you need and stick it to the underside of the strip. However, the efficiency of the adhesive may vary depending on the wall’s material and climatic circumstances. It may not be as strong or long-lasting as other adhesive materials.
Silicone Sealant
In wet or otherwise challenging environments, LED strip lights often adhere to the silicone sealant. It forms a bond that is both versatile and resilient. When sealing an LED strip, running a bead of silicone sealant around each edge is common practice to prevent water and dust from getting inside. It can be more difficult to eliminate than other adhesives and may take longer to set and solidify fully.
Magnetic Strips
LED strip lights require a special adhesive, and magnetic strips are the perfect solution. They have magnets built so the LED strip can adhere to metal surfaces directly. When moving or removing the LED strip frequently, many people choose magnetic strips because of their ease and durability. Their magnetic strength also varies by magnetic strip type. Therefore, they may only work on some surfaces.
There are a variety of adhesive materials available, each with its own set of benefits and drawbacks. For optimal performance, read and follow all product documentation.
What Types of Walls are Damaged by LED Strips?
Currently, LED strips are most effectively mounted on particular wall kinds and cannot be adhered to other wall types. The analogy between the walls and the LED stripes is okay if the walls are covered in tiles or plastic or look like they were finished with wood.
However, you can easily bring the similarity or liking because you can effortlessly remove those strips without any stains or damage. On the other hand, if any traces of adhesive remain visible on the wall, they may easily remove.
However, if the wallpaper was covered with paint or standard plasterboard, you could not complete this process. Adhesives are a surefire way to ruin the appearance of these walls because they’re created from such delicate materials.
The drywalls are the walls before they are painted. The coating only partially covers the wall. Thus, any protection it offers is rapidly lost. If adhesive is applied to attach the LED stripes to the wall, it can easily hole patches.
Now more than ever, wallpapers are being used as part of creative wall décor schemes all around the globe. Using adhesive to attach LED strips to such a wall will likely result in the wallpaper peeling off.
Why Painted Walls Damaged by LED Strips?
There are a few ways in which LED strips can ruin freshly painted walls. First, when removed, the adhesive backing of LED strips can leave behind a residue that peels paint or discolors walls. Second, the heat LED strips produce when running might cause the paint to soften or bubble if the strips are of low quality or are left on for long periods.
LED strips with rough or sharp edges can also damage the paint when mounted directly to walls. Too much force or pressure during installation or working with an unprepared surface could cause problems. Finally, painted walls can be damaged by moisture from places like kitchens and bathrooms where LED strips are mounted.
It leads to peeling, discoloration, and even mildew. Preventing this kind of damage requires careful installation, quality LED strips, a lack of excessive heat, and careful surface preparation and sealing. If you need clarification on something, you should consult an expert. You must be gentle to easily remove LED strip without damaging paint.
How To Stick and Remove LED Strips Safely
Listing the necessary tools before sticking the LED strips to the wall is essential. For this, you’ll need measuring tape, water, adhesives, and scissors. The ladder will be crucial if the strips are mounted on the ceiling. The step-by-step process is here:
Pick a Place
LED strips can be a great addition to a room’s decor. It’s important to look at the wall’s surface before deciding. There are more suitable surfaces than the freshly painted walls for this artwork. When compared, a smooth exterior is generally preferable.
Choosing where on that area you want to attach the strips is the next step after deciding on the surface. Strategic places include the ceiling, the edge of the kitchen, the game area, and even behind the television.
LED ceiling strips are assessed. It is determined that wireless light strips are preferable because they don’t require wiring and give off a more modern appearance.
Measure the Place
Precise measurements are required after settling on a location. Now, the strips may get extended or shortened accordingly.
Check the Size of The Strips
It is possible to calculate the precise strip size after measuring the room’s length. However, this will reduce the overall cost. Now, you can only buy the exact length of the strip.
But strip extensions are another option to consider. Use flexible connectors to prevent joining strips at right angles. This is especially important for creating a round appearance around the TV.
You can cut the strips to fit across the exterior, too. It is important to remove the LED strip before cutting it. Follow the safety instructions on the surface to determine where to make the cuts.
Clean the Place
The adhesion process can begin once the strips are sized appropriately. Wipe the surface with a damp cloth to prepare it for adhering. To remove oil and filth, mopping the floor is a must.
Stick the Strips to The Wall
The installer must take care before affixing the strip. It is essential to identify the connection site because adhesives can harm the surface. However, double-sided adhesive is prevalent to prevent this kind of damage.
After cleaning the area, the user can apply the strip by removing the backing from the adhesive tape. The strips only work if pressed firmly against the wall for ten to fifteen seconds. The hold-and-press technique requires being repeated every six inches along the LED strip.
Now, it’s time to remove LED strip without damaging the paint. Follow the instruction below:
Turn Off the Power Source for Led
It’s important to turn off or at least dim the LEDs before beginning the peeling process. Never mess around with live wires. To prevent any mishaps from happening, and must turn the power supply off before any work can begin.
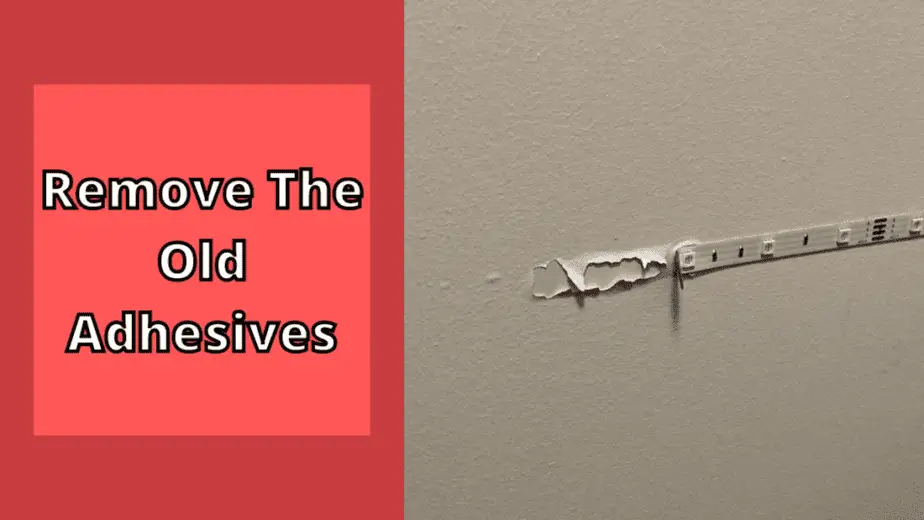
Remove the Adhesive with Heating
Stronger adhesives secure the LED strips to the wall. Wall paint or other wall coverings are easily scraped off with this glue. The first step is to use a hair dryer to warm the glue layer. The strip’s adhesive can be easily removed by applying intense heat to its surface.
Remove Strips from The End
The strip should always be kept from the middle. Always start peeling at the very edge. However, there are more efficient peeling methods than employing a sharp-end instrument. A flat thing should be stored near the strip’s button for the most common operation.
Remove the Strip Gently
Using a delicate pulling motion in small increments is the key to successfully peeling the strips. Taking the time and pulling the LED strip out completely is also important. If you try to remove the strip too quickly, you can tear the internal wires. The time-consuming process of removing the strip requires careful pressure and motion.
Dry the Strips After Removing
After completely removing the strip from the wall, it is necessary to dry it thoroughly. In addition, before reusing or storing the strip, the excess glue must be cured.
Remove the Extra Adhesive
If any glue remains on the wall, you can carefully remove it by rubbing it with your thumb. Applying little pressure will eventually force the glue to release.
If the tacky glue responds well to this method, consider spraying it with a citrus-based cleanser or WD-40. After the adhesive has been applied, remove it all by circularly rubbing the outside.
Some Best Adhesive For LED Strips
There are a lot of tapes in the market. It’s hard to find the best. We selected these three tapes to strongly stick LED strips into the wall. These are described below:
Tesa 4965 Double-Sided Mounting Tape
Tesa 4965 is a premium double sided tape with unparalleled adhesion. The polyester film backing and tough acrylic adhesive make this product resilient to environmental elements like heat, humidity, and sunlight. Mounting LED strips is a frequent application for Tesa 4965, which can be utilized on a wide range of materials. It provides a strong and durable bond, making it useful for any setting.
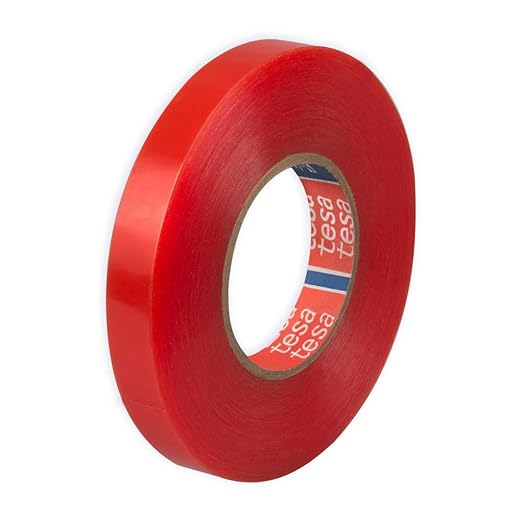
9 mm x 50 m Transparent Double Sided Tape. Compatible with Metal & Rubber
Gorilla Heavy-Duty Mounting Tape
Another solid choice for securing LED strips is Gorilla Heavy-Duty Mounting Tape. This double sided tape has high adhesion to various surfaces, including those with irregularities. It’s ideal for indoor and outdoor use due to its long-lasting adhesive. It delivers strong gripping strength and is resistant to heat and sunlight. The bond can withstand the elements, so your LED strips won’t come to lose, no matter how severe the weather gets.
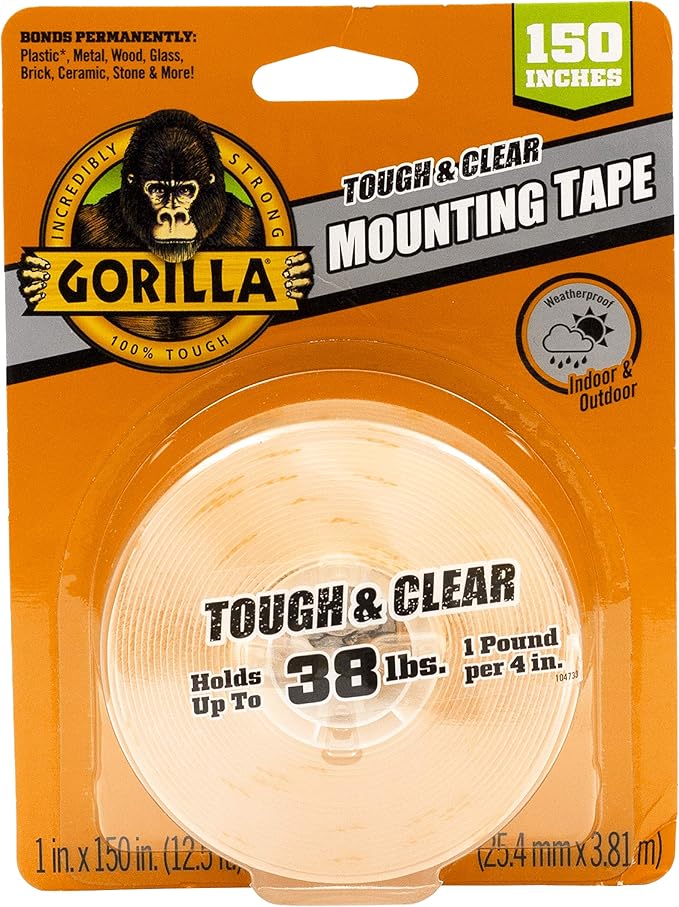
ough & Clear Double Sided Adhesive Mounting Tape, Extra Large, 1″ x 150″, Clear Tape
Scotch Outdoor Mounting Tape
Mounting LED strips in the great outdoors is a breeze with Scotch Outdoor Mounting Tape, which is designed for the elements. It’s a double sided tape that holds up well in the elements, from rain and sunlight to cold and heat.
The tape offers a secure and long-lasting adhesion on various substrates, from wood to concrete to brick. It’s simple to install and can be trimmed to fit any space.
To get the best results while adhering to LED strips, ensure the surface is dust- and dirt-free, dry, and clean. You must also use the glue exactly as directed by the manufacturer.
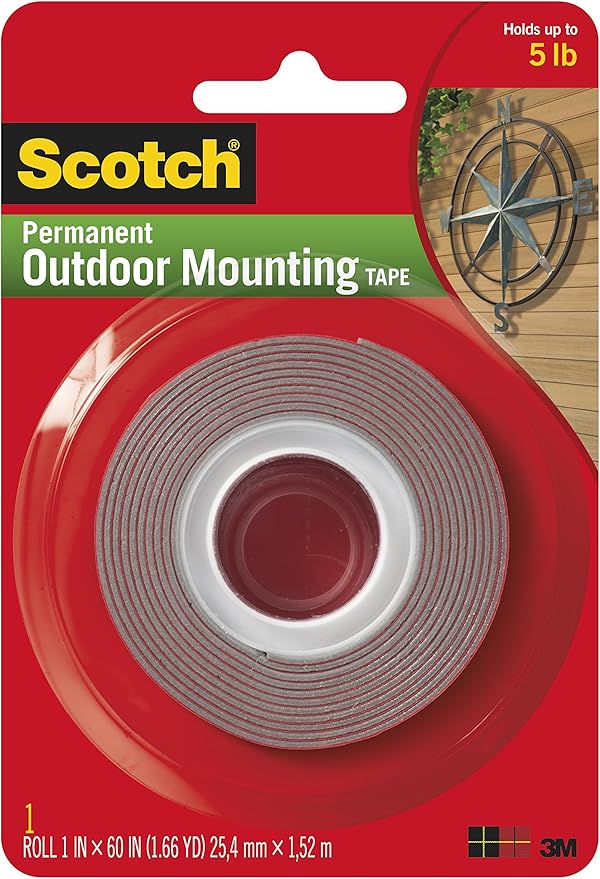
Fastening & Surface Protection Permanent Outdoor, Holds 5 lbs, 3M Scotch 4011 Exterior Mounting Tape
Frequently Asked Question
u003cstrongu003eIs it bad to have LED light strips in your room?u003c/strongu003e
You can safely use LED lights in your house without worrying about the health implications of the so-called u0022blue light hazard.u0022 Pay attention to the LED specs, take the necessary measures, and use some common sense.
u003cstrongu003eDo LED strip lights waste a lot of electricity?u003c/strongu003e
When used as the primary lighting, LED strips consume significantly less energy than incandescent bulbs while providing adequate illumination. LEDs use just about 18% of the power of CFLs, but they can save as much as 85% compared to traditional incandescent bulbs.
u003cstrongu003eAre there any disadvantages of led strips?u003c/strongu003e
Sometimes you can use incandescent light fixtures in conjunction with LED strip lights. LED strip lights. However, it may overheat and shut off if ventilation is limited. Installing it in a light fixture that isn’t made for it increases the risk that the dimming feature won’t function properly.
Read also: Can You Cut LED Light Strips?
Final Words
Hope you get your answer to the question do LED light strips damage walls? The proportion of the attached surface to the inventive and illuminating LED strips is striking. Various sorts of strips have emerged on the market and gained popularity. In addition to satisfying the audience’s desire for aesthetics, swift execution is a constant source of anxiety.
The aforementioned graphic sections of this text explain why certain surfaces are inappropriate for use with LED strips. In addition, a short section details the procedures involved in expertly removing the strips and any remaining adhesive. So, best of luck with your place’s future LED light strips, and use them without hesitation.
Related Articles…
How To Dim LED Lights Without A Dimmer
What Is the Best LED Light Color for Studying
How To Reset RGB LED Controller
How to Change Color Temperature of LED Lights

My strong expertise is illuminating spaces. With a keen eye for detail and a passion for transforming environments through lighting, my dream is to leave indelible mark on the world of light design. Below are few facts of my biography, highlighting career and hobbies. Click here to contact me.
